75 photos
The cladding board is made from recycled wood. Lining is used in the interior of the bedroom, ...
Any start of construction or repair is preceded by a drawing up. Without a detailed visual presentation, it is impossible to foresee all the possible nuances. The situation is similar with interior design. In order to make the choice of style, furniture and decor elements possible, you must first draw the interior of the room. If you want to create a unique design for your cozy nest, you will have to arm yourself with more than one sheet of paper, a pencil, a sharpener, an eraser, and also some reserve of patience. A correctly drawn sketch will allow you to personally "predict" the interior design of the room. But, as in any science, there are rules and subtleties that you will meet in this article.
Design drawing allows you to see the situation in the room before the start of repair
Content
When designing work on the interior of the room, the perspective drawing method is used. There is nothing complicated in it. The basic concept here is the binding of all elements of space and furniture to a specific point on the sheet, called the vanishing point.
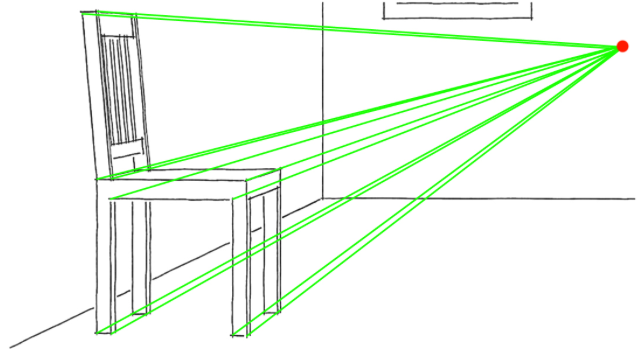
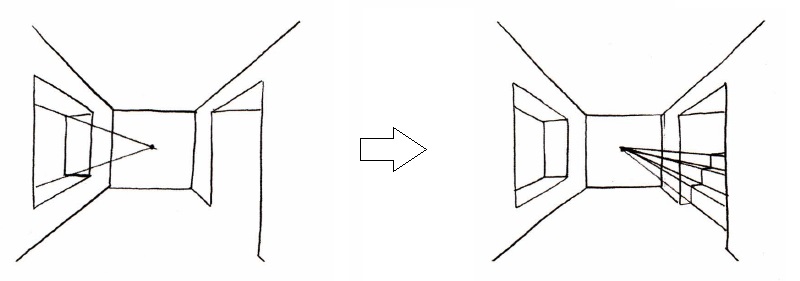
The vanishing point is where the viewer is looking
A perspective in art is a way of transferring space objects on paper, while preserving the natural visual effect characteristic of the human eye.
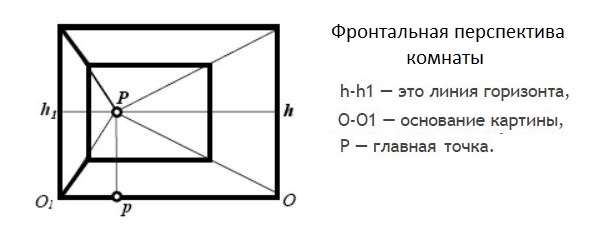
The frontal or central perspective is a perspective in which straight lines converge at the main point of the picture P, and the perpendiculars to them are parallel to the edge of the sheet
A promising method allows you to naturally perceive the resulting drawing of the interior, as if it looked in a real room.
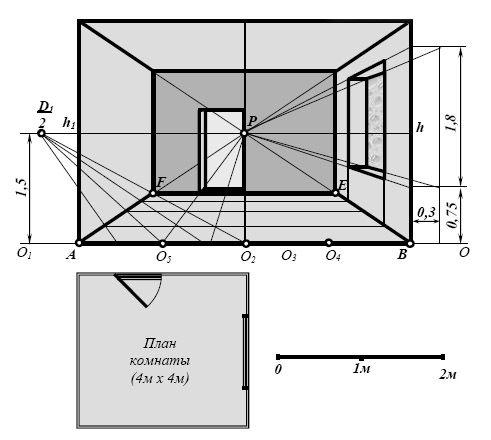
For the correct construction of the drawing, a perspective scale is used, which is set so that the whole room fits on a piece of paper
A promising method of construction has its subspecies, the main of which are:
Consider the features of each of them.
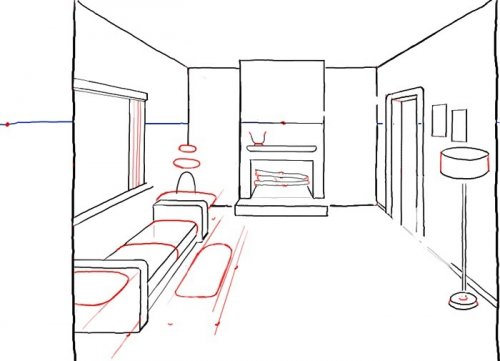
The main feature of this method is the use of a single vanishing point located in the center of the sheet. Before drawing this point, you need to draw a square or rectangle denoting the wall farthest from the observer. Its dimensions should be comparable to the dimensions of the selected sheet, ideally a 1 to 3 scale.
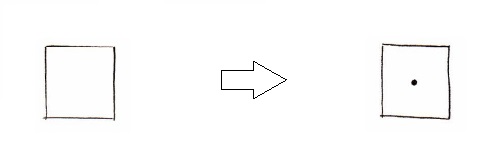
Draw a square and set the anchor point in the center
After that, the corners of the square are connected by diagonals, with the output of lines beyond its (square) perimeter. It is important that these lines pass through our vanishing point located inside the square (we denote it by point A).
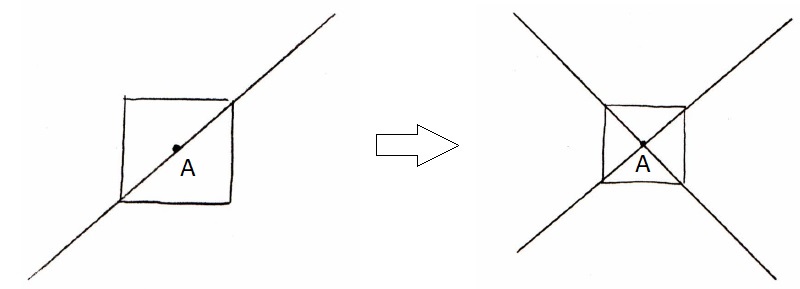
Draw diagonal lines
The resulting lines marked the walls, ceiling and floor. The internal diagonals of the square are no longer needed, so we erase them with an eraser.
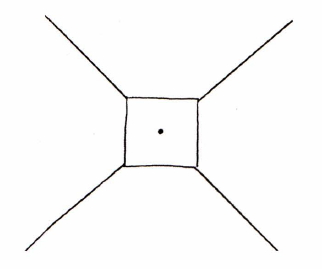
Erase the lines inside the square, leaving the center point
Now we turn to the designation of windows and doors.
Important! The point of view, from which the observation of perspective occurs, should be one of the walls of the room, free from furniture, windows and with a minimal presence of decor elements. This gives a complete picture of the interior of the room.
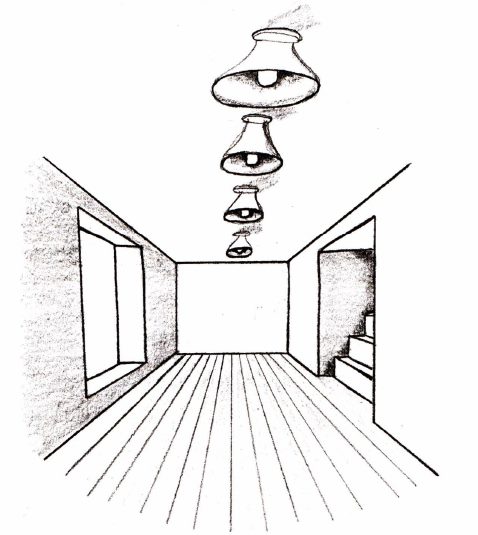
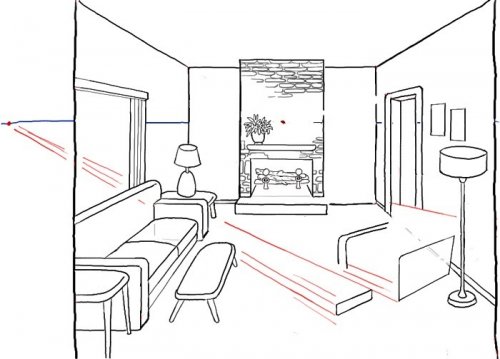
The height of the window is best measured with a tape measure, and put an approximate proportion on a sheet of paper. In this case, the edge of the window closest to the observer will appear longer than the farthest.We get the window by drawing two horizontal lines from the vanishing point on the wall. Next, we connect these lines together with vertical lines parallel to the adjacent straight lines of the far wall. We erase the working lines and get a window.

Draw a window
In the same way we represent the front door to the room.
To indicate the depth of the wall in the doorway, as well as the window, you need to draw deep into, for example, windows, segments from each vertex of the corner. These segments should be parallel to the line of the floor and ceiling of the far wall.
In the same way, you can draw a ladder.
It is always worth keeping in mind that all vertical lines when creating a drawing of the interior should come from the vanishing point. Compliance with this rule guarantees a visual representation of the painted interior design.
After drawing windows and doors, all auxiliary lines are erased with an eraser.
The walls are painted according to the light coming out of the window.
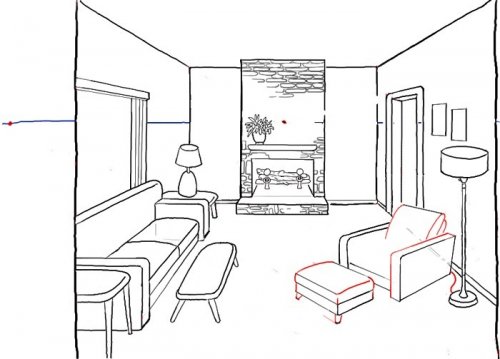
Next, proceed to drawing the interior of the room, consisting of:
Furniture and interior elements are drawn in compliance with the general concept of this method (through the selected vanishing point).
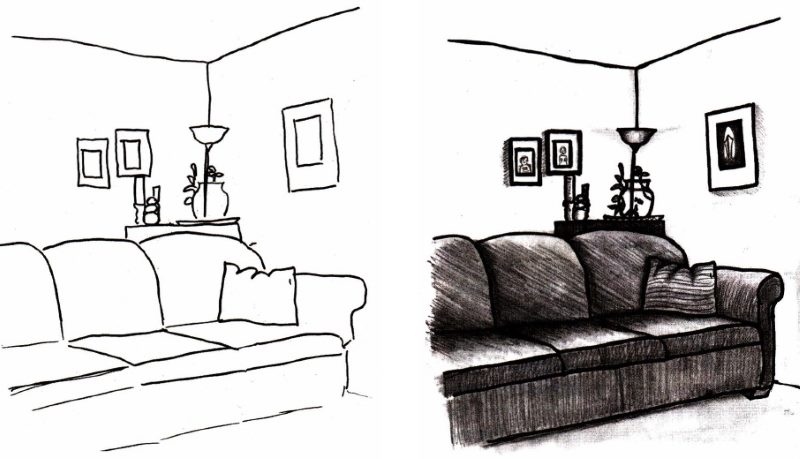
Apply shadows with a pencil as they look in the real world.
At the end of the sketch, all the auxiliary lines are gently erased by the eraser.
At the final stage, several actions are performed:
The last two points deserve separate consideration, as they have a huge number of options. For a novice designer, it will be enough to master the basic principles.
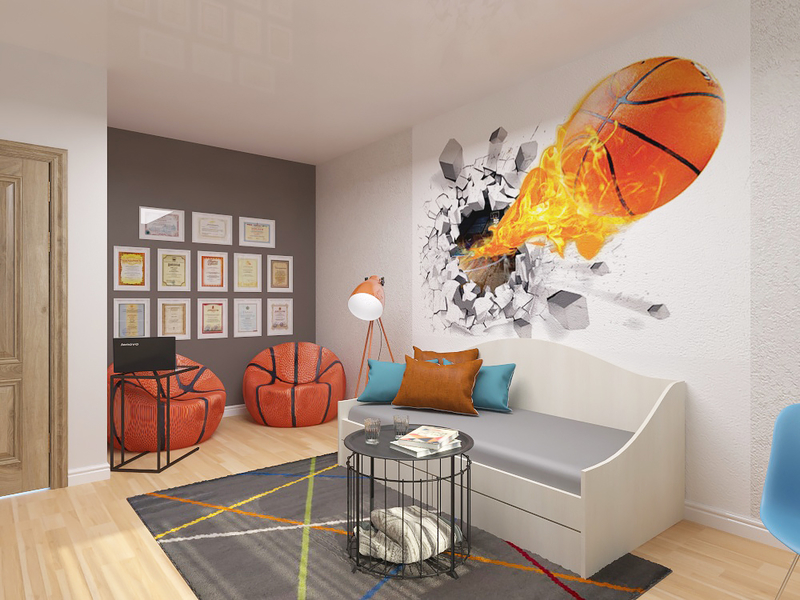
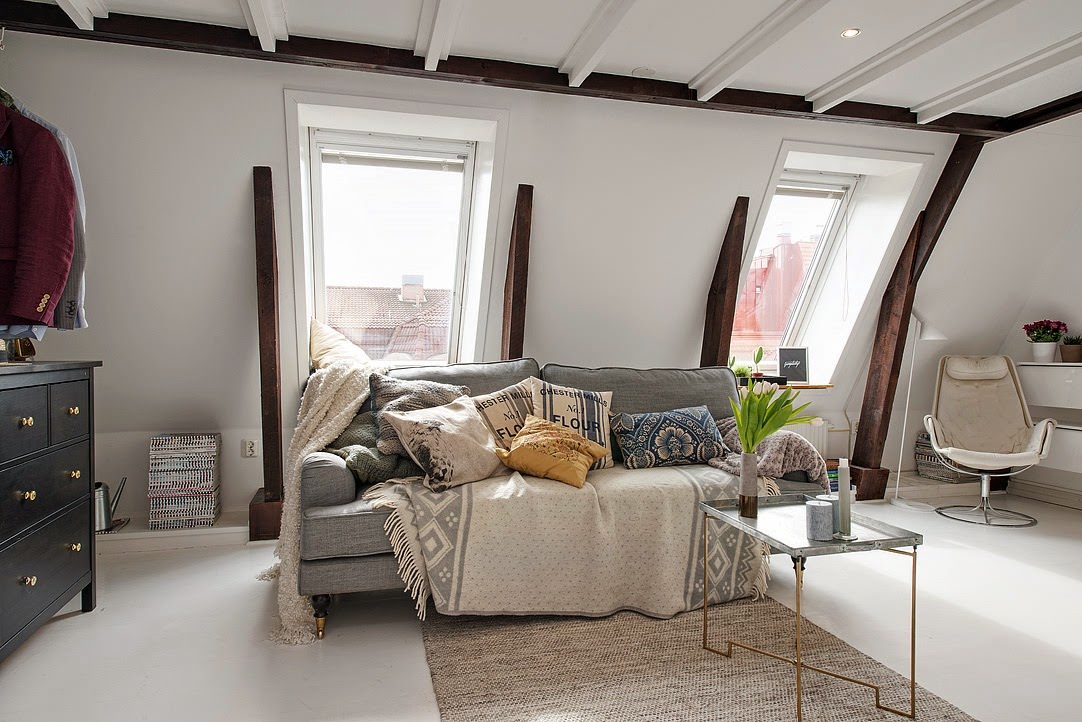
Drawing room for a teenager
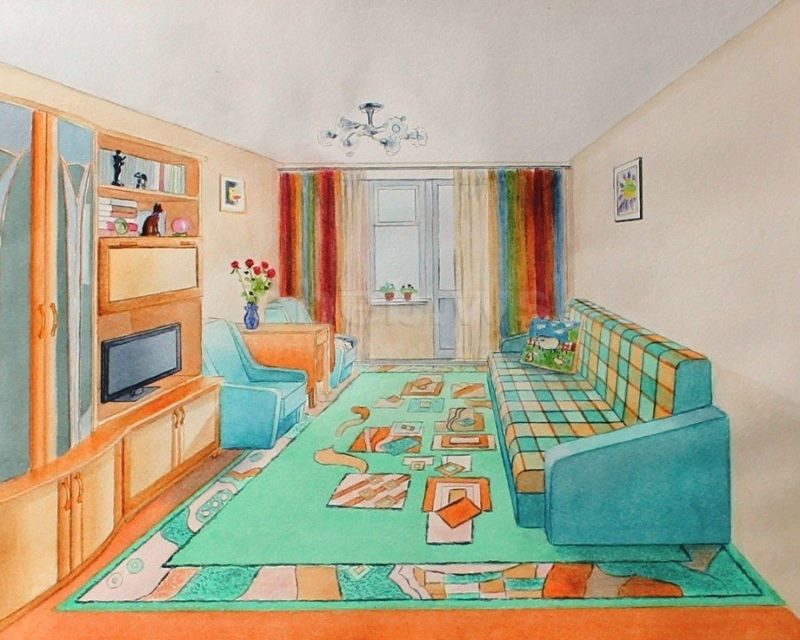
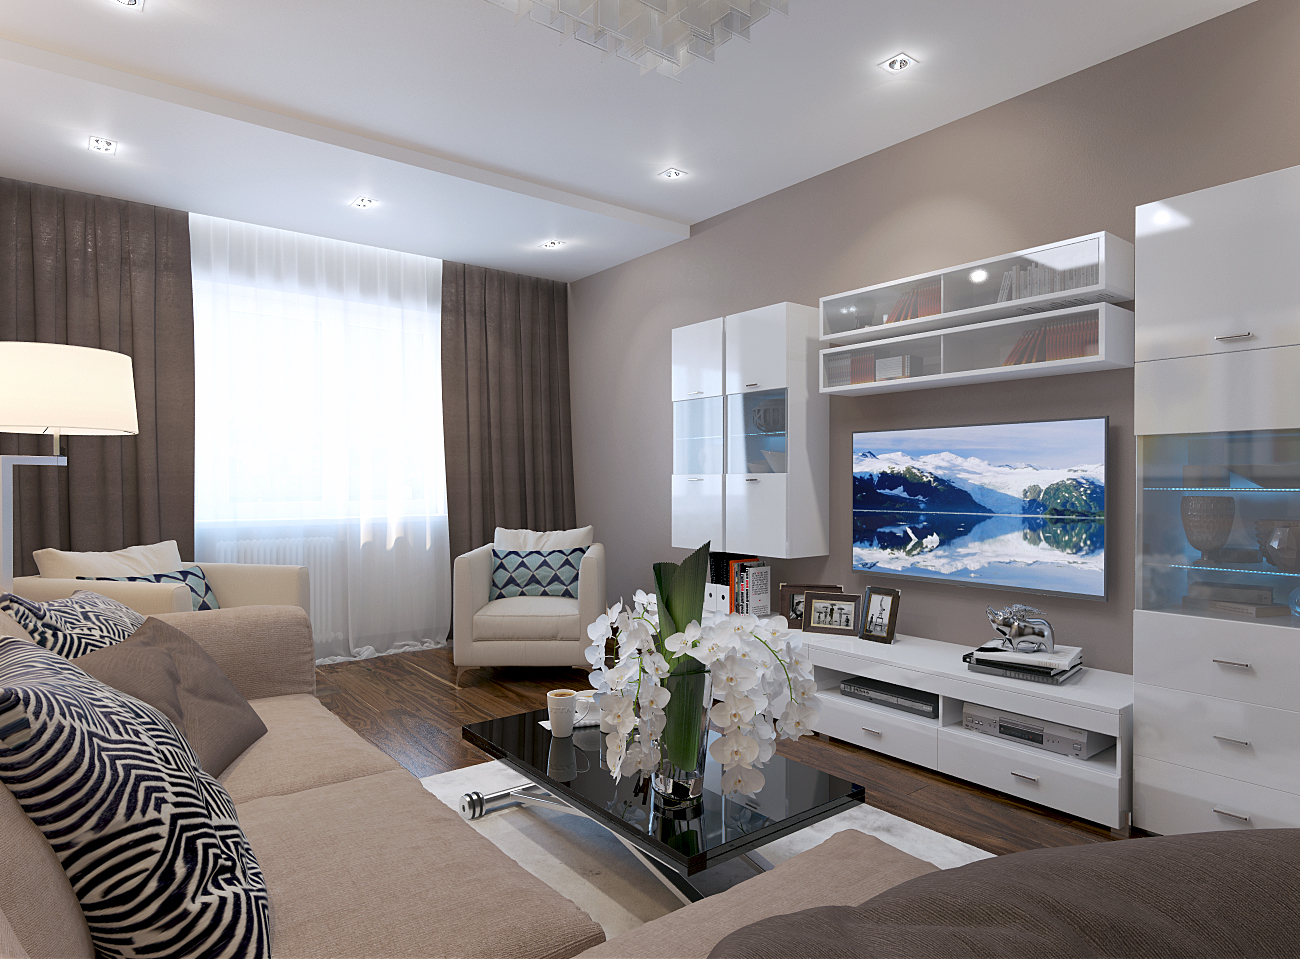
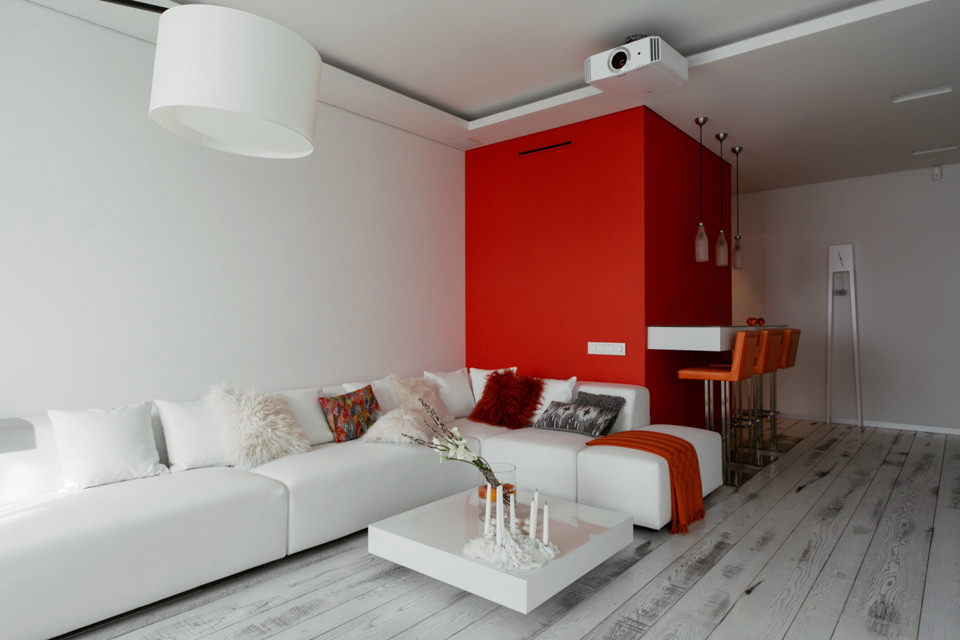
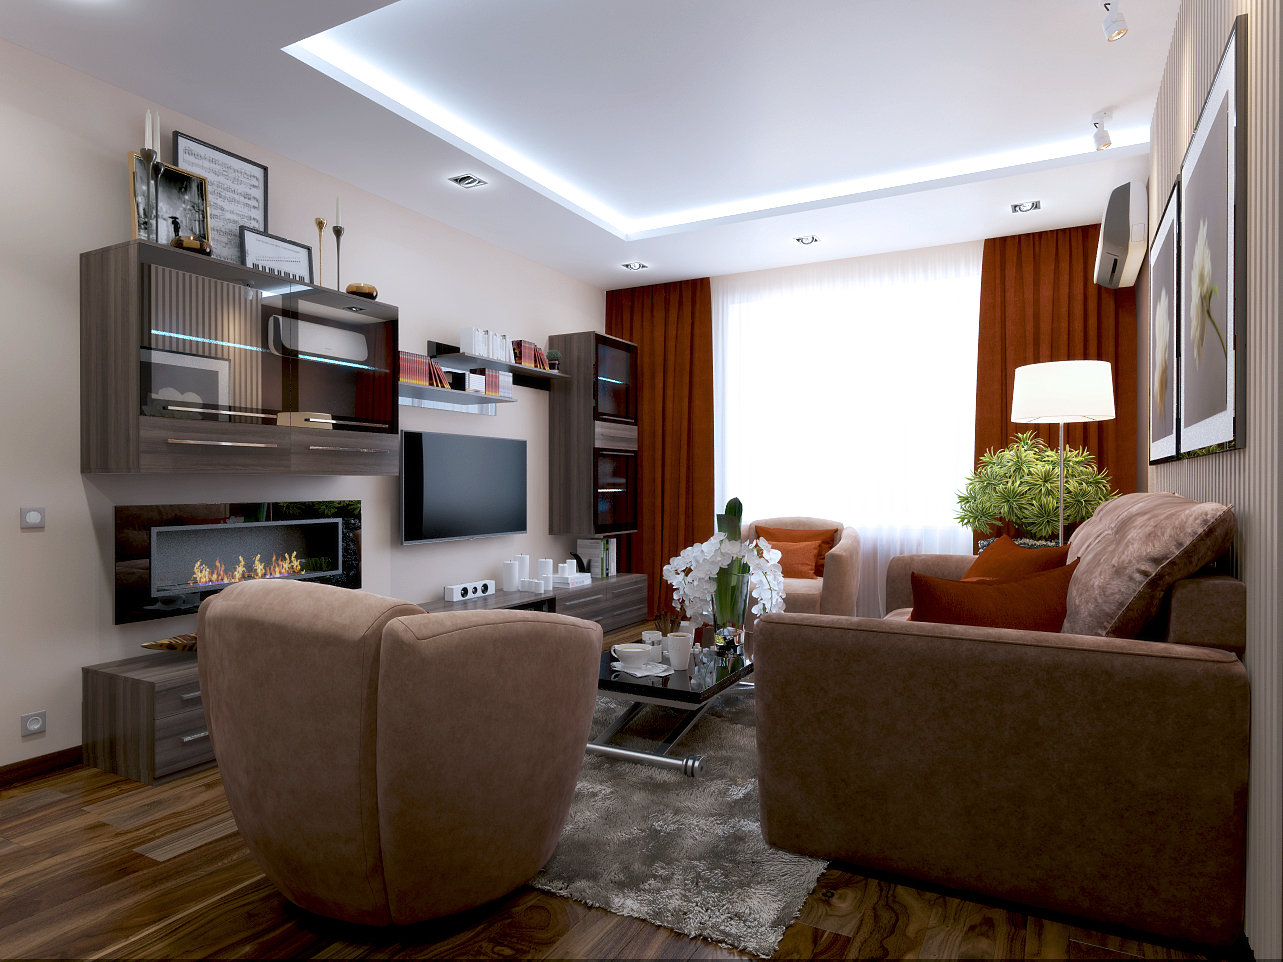
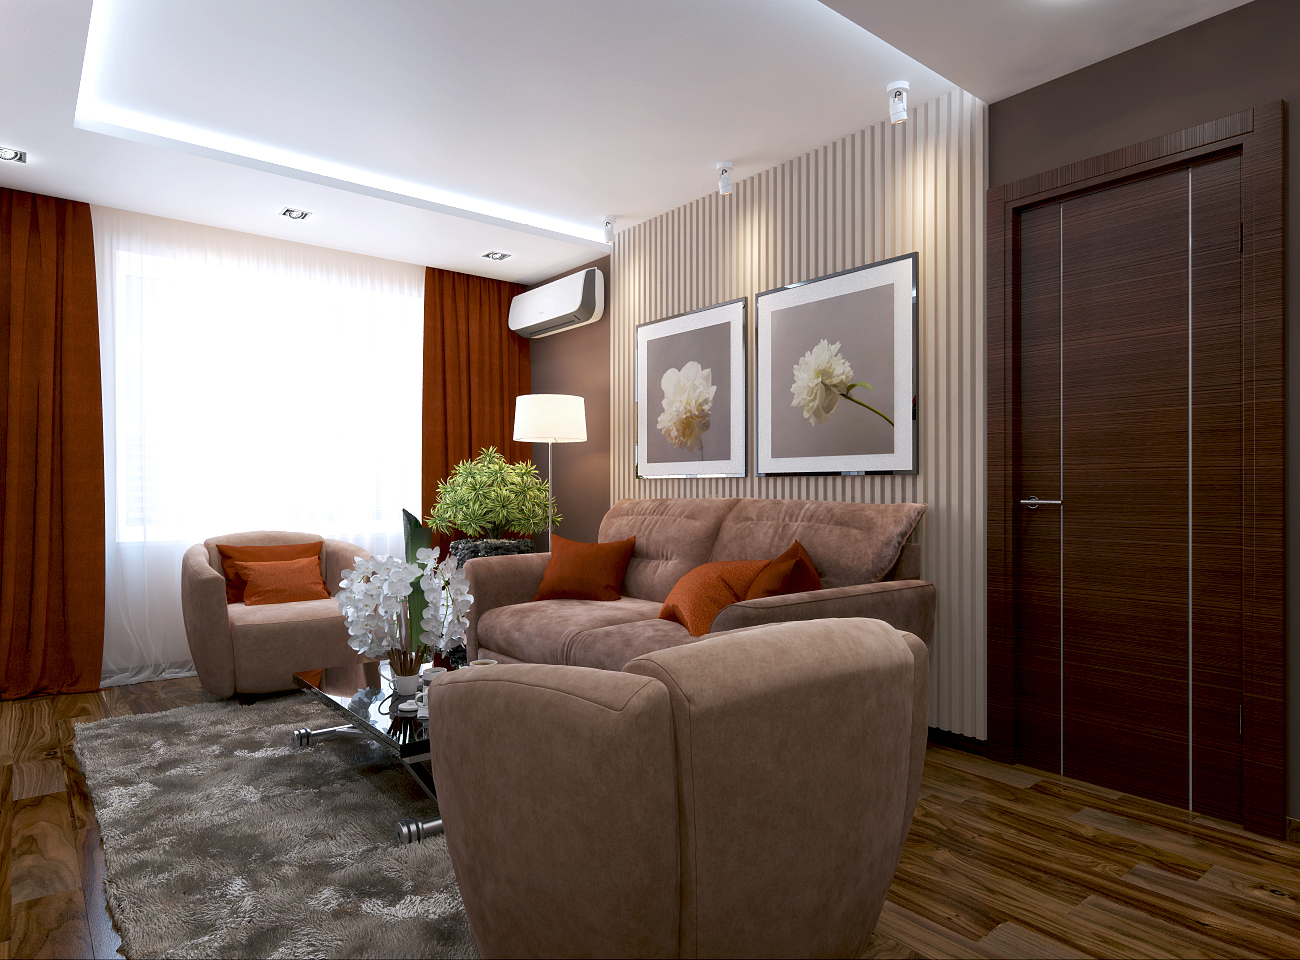
Drawing of a living room in a city apartment
This method has a slight difference from the previous one, namely the presence of two vanishing points. By the complexity of execution for a novice designer, he is no different from a direct perspective.
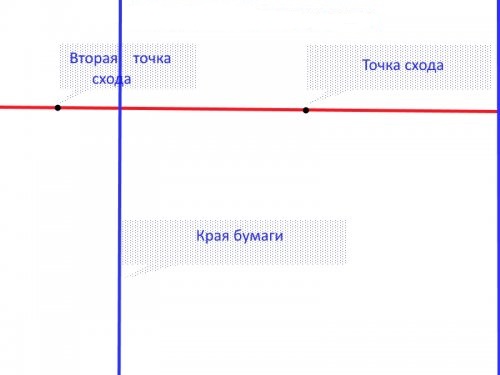
Draw a horizontal line and exit points
How to arrange the second of two vanishing points is a purely personal matter for each designer. The general principle here is this: the point should be removed to the left or right side of the main central one. Depending on the length of the removal, the viewing angle of a particular interior item will change.
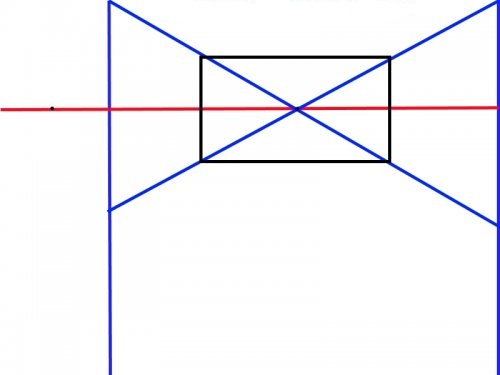
Draw a rectangle depicting the wall of the room
Erase the lines inside the rectangle and begin to draw the outlines of the interior
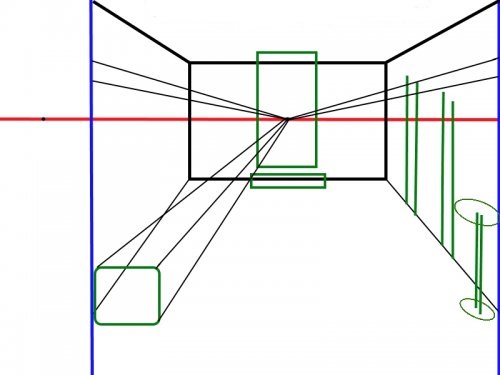
We put the basic pieces of furniture
To correctly place objects on the other side of the picture, use the second point of exit
We erase the auxiliary lines and get a practically ready sketch of the room
If you choose from the method of direct and angular projection, the second more clearly represents the interior decoration of the room. For a person’s visual perception, it will be more real than the direct projection method.
If you are not eager to become a newly-made designer, or if you plan a one-time apartment repair, and it is inappropriate to spend money on specialist services, then you can use computer programs. With the help of them, you quickly and easily sketch a sketch of a room with the arrangement of any design.
You can create a room design in a special program, even if you do not know how to draw at all
The most affordable and popular right now are:
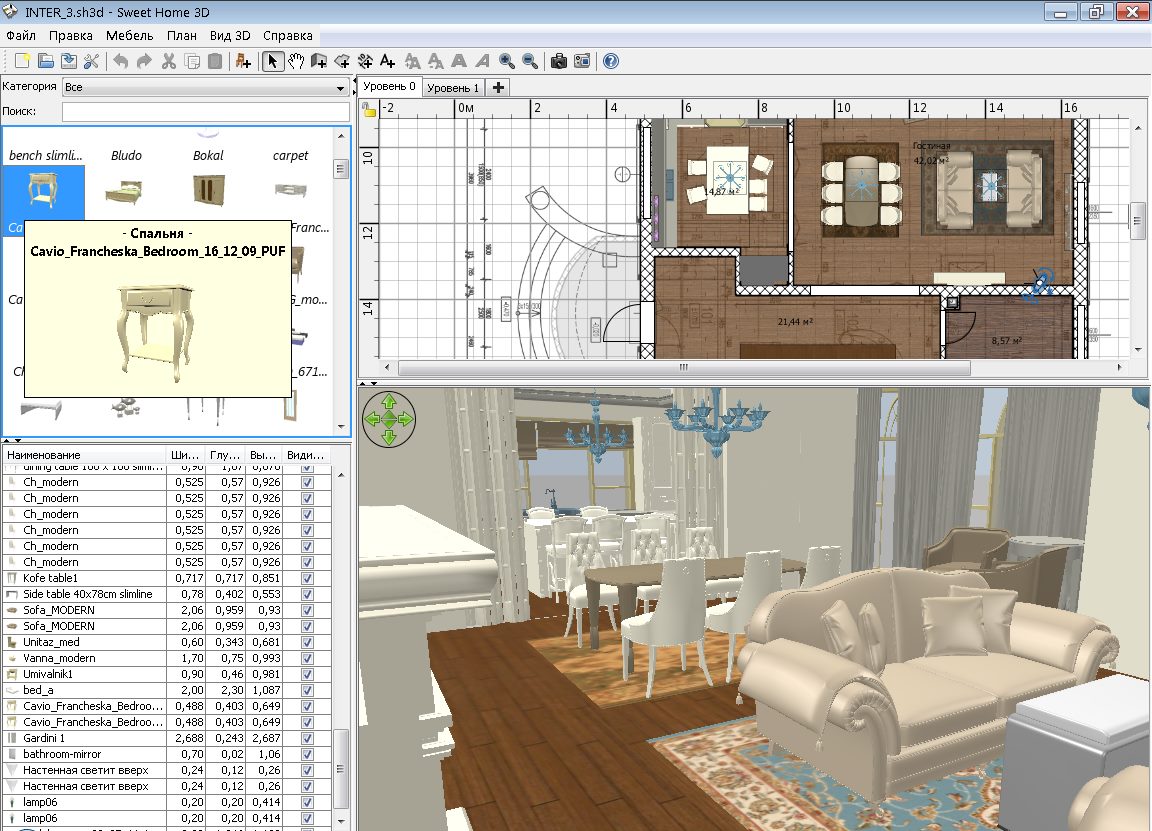
The program Sweet Home 3D is designed mainly for those who need to quickly do interior design without the skills to work in such applications
The program has an intuitive interface, moreover, it is completely Russified
The built-in catalog allows you to add models and textures to the project, which can be changed in accordance with the actual size of the room
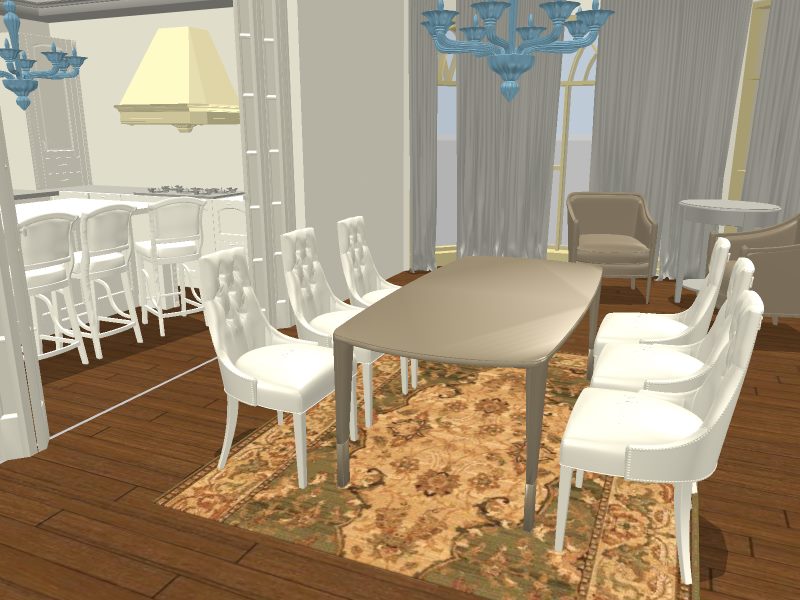
Example dining area design created in Sweet Home 3D
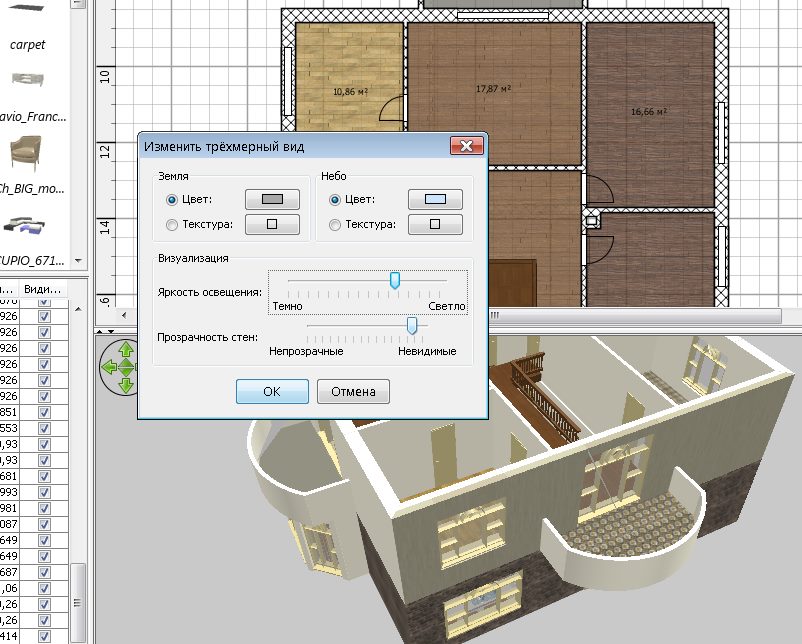
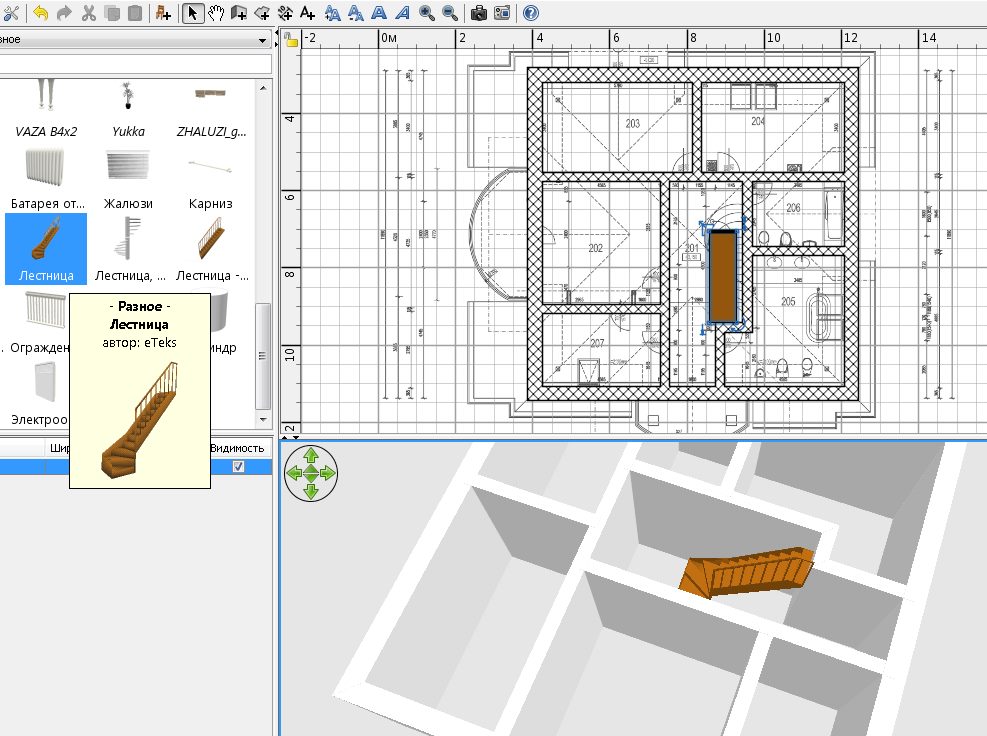
These programs are similar to each other. You can use them for free. They have several advantages over manual drawing. This is especially true for beginners. The interface of such a program is equipped with clear controls. The presence of interior elements and furniture greatly simplifies the drawing process.
For example, with the help of the Google program, you can create both the design of one room of an apartment and the large-scale integrated design of the entire suburban area with a pool, garage, relaxation area and all elements of the interior of the house. A convenient visual presentation will allow you to “walk” through your newly-built home in a special mode.
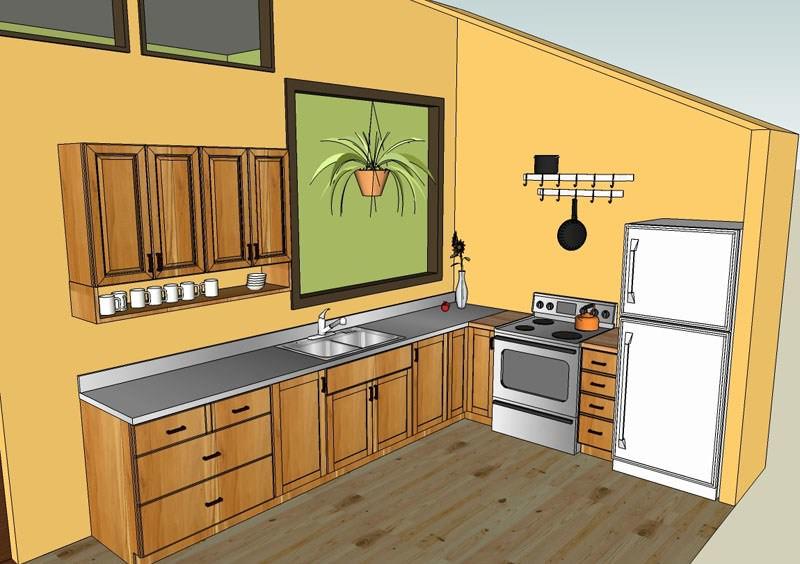
ScetchUp allows you to make any shape three-dimensional in visual terms
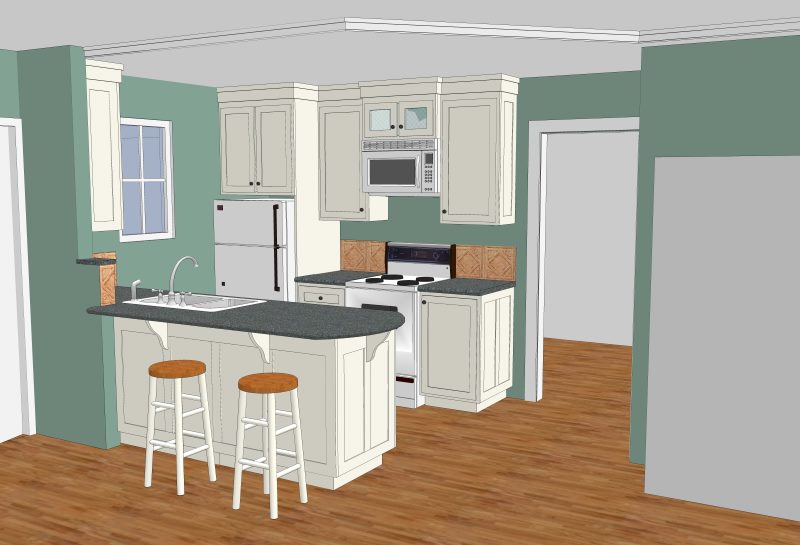
The functionality of the free version of ScetchUp is enough to create the design of your room
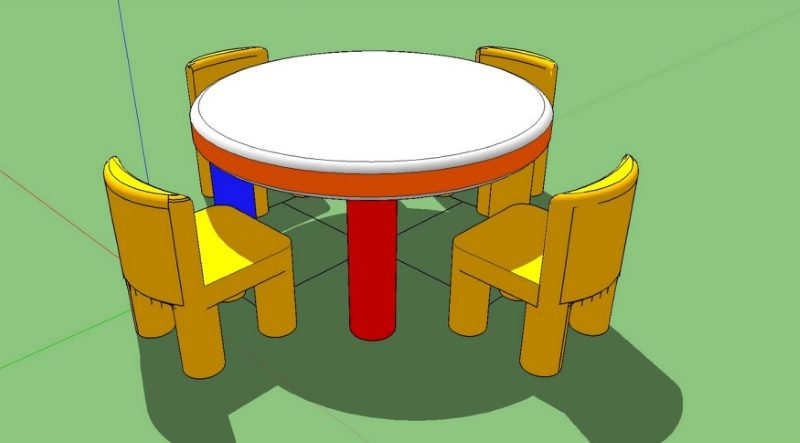
The program can simulate individual pieces of furniture
Separately, it is worth noting the program from the Ikea company. In addition to the main advantages, it has the function of calculating the cost of furniture and repair in general. The only drawback is the presented range of products. Naturally, this is only the products of this company.
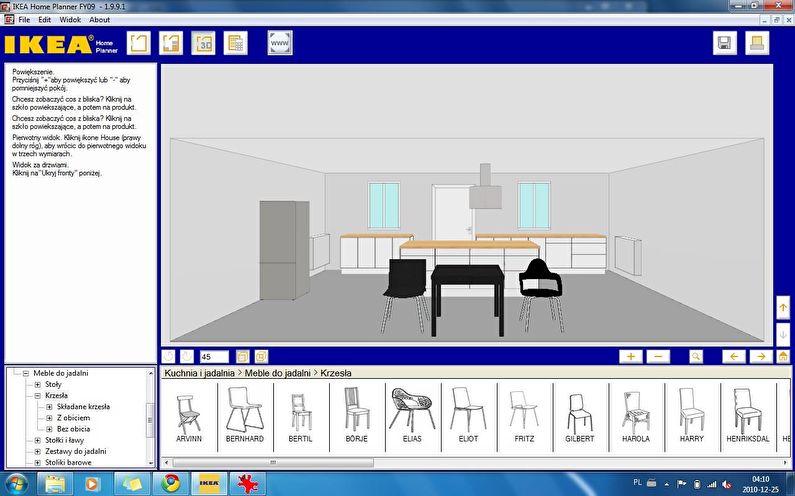
The free program from Ikea is definitely useful if you plan to purchase furniture in this company
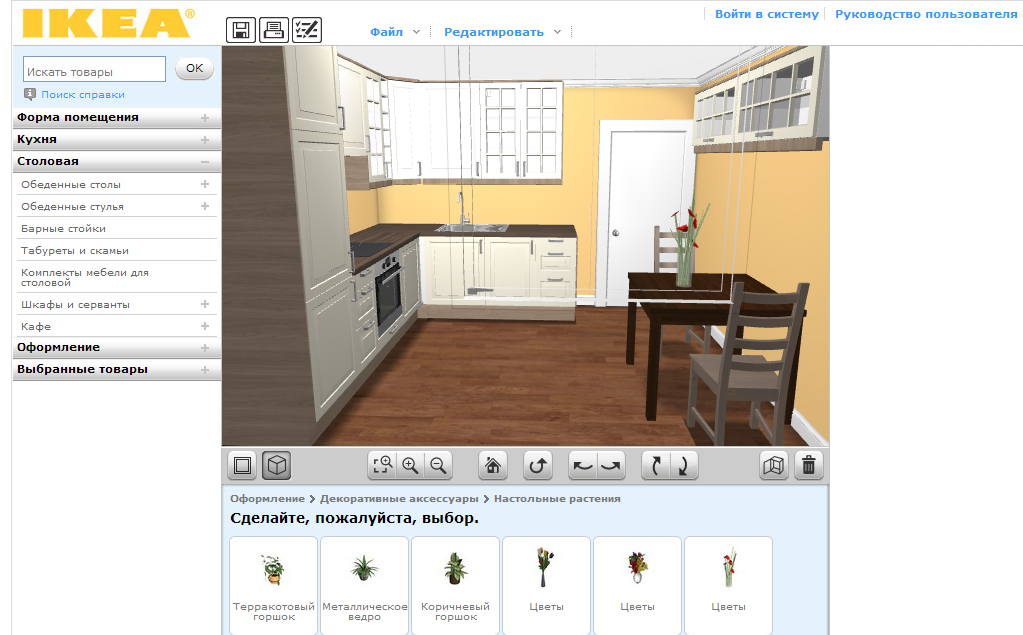
IKEA Home Planner saves the project in a 3D image and draws a list of all selected pieces of furniture and interior
Using the program for designing will save a lot of your time, and the visibility and objectivity of the resulting picture will not cause doubts. You just have to print the document and proceed with the repair.
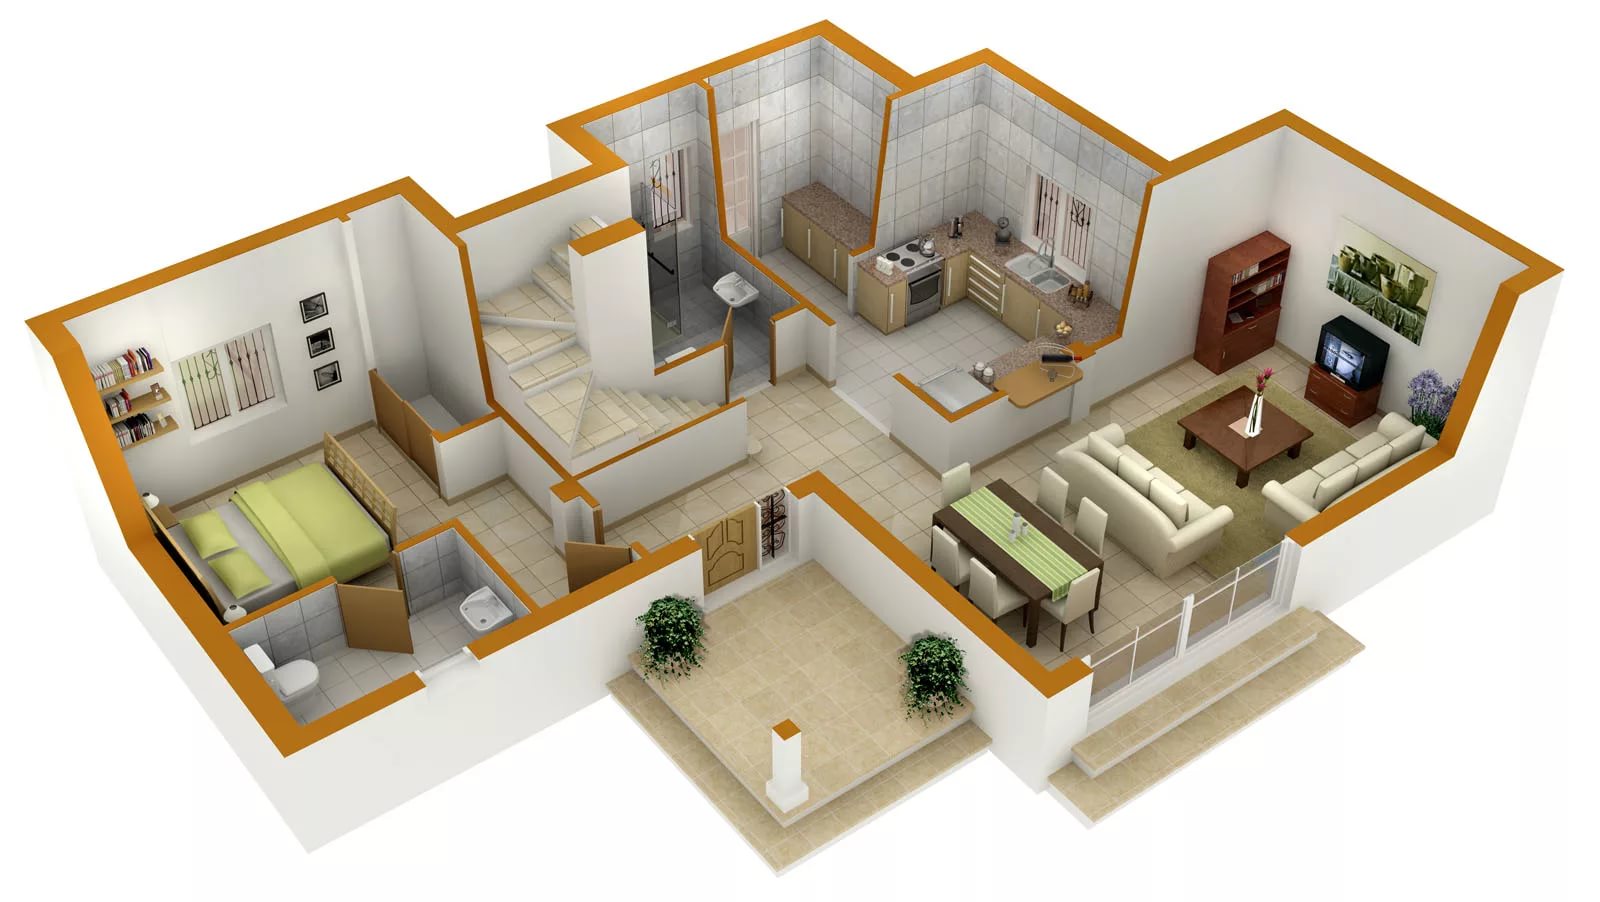
Using the above programs, you can make a design project of the entire apartment or private house


Thank!
In the near future we will publish information.